Tuesday, 16 December 2014

arts and crafts project evaluation


Evaluation arts and crafts


For my arts and crafts project I had to first research the two historical artists, William Morris and Charles Rennie Mackintosh. As far as my research goes I could only get secondary research which was from google from which I used websites such as Wikipedia and the official William Morris website alongside the official MADart blog. In the project I chose William Morris as my historical artist as I liked the different patterns and the defining detail that he would put into his floral patterned wallpaper as well as my strong point in the project being floral patterns. I put my mood boards together by choosing the work of Morris I thought was most interesting and imaginative that I could get different ideas from as well as come up with new ones. I decided on my contemporary artist by looking through new and experimental contemporary artists and chose Megan Aroon Duncanson or MADart as she is also known, I chose MADart as her work also used a sort of floral patterns and bright vibrant colours that I thought would bring some of Morris’s work to life a little more when I would mix them together. Throughout the project we did different experiments with different techniques such as mark making where we used different tools such as straws, sponges and forks to make different marks in our work with different paints. We also used a technique called Batik where we used heated Parrafin wax from a wax pot to draw on our paper with and when the wax had cooled it raised a little and acted as a barrier so the paint wouldn’t be able to go over the wax on the paper making a pattern of sorts. Another technique we used was puff binding where we used puff binder to draw a pattern on the paper and when dried by the heat gun it would raise and stand out making it visible. We also used peg looms and cardboard looms where we would make a pattern using wool to weave a pattern and we used hand sewing to add detail to our work by making a pattern in the drawing/painting with a different colour of wool. Through the experimentation we had to sing in and out each time we entered and left the room in case of a fire to show where we were in case anyone would need to find us. We also had to be careful as we were dealing with boiling hot wax that could burn us as well as having to wear an apron to protect our clothing from being stained. I did not action any feedback from my peer assessment as I was absent when the peer assessment took place. Within my designs my strengths were the drawing of the pattern and the colouring of the pattern with pencil. If I were to do the project again I would manage my time a lot more efficiently and complete my homework on time to make sure the project was of a good standard to add to my portfolio. In the project the designing of the work went well but the completion of the work was not as good as it should have been on my behalf.  In my opinion my time management was a little poor but I hope to improve that over the course and the next project as much as I can.

Tuesday, 25 November 2014

Weaving

In this lesson we learnt how to weave using both cardboard and actual weaving pins and stand.
First off we measured out 10 strips of wool at 30cm, then we looped the wool through the weaving pins and tie a knot with the 1st 3 loose ends then tie the next 2 together and carry on till you reach the last 3 loose ends and tie those together. Then start weaving your other pieces of wool and weave it in and out of the pins till you get to the top of your pins or cut off at one point and tie a knot with another colour to make it more adventurous. 
Then we tried weaving with cardboard where we did the same weaving technique but to start we weaved the wool around the edges of the cardboard till u reach the end and tape it to the back like u did to start off with.

Monday, 3 November 2014

Observational drawing & mark-making project evaluation

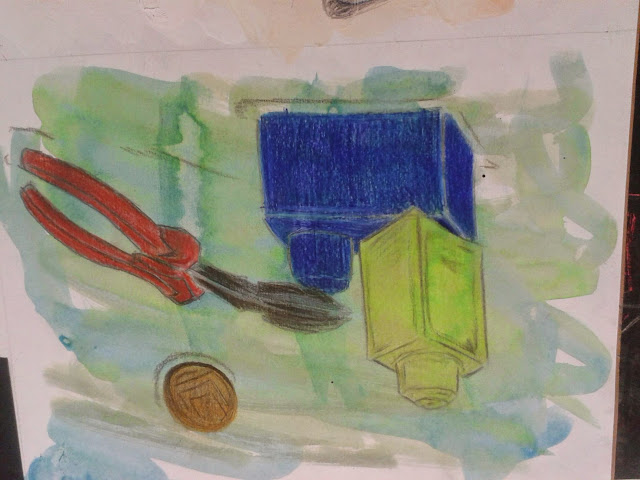
During this project i have learnt about drawing and mark-making techniques such as cross hatching, tonal shading and continuous line drawing, the only technique new to me was continuous line drawing and to my surprise i enjoyed this technique but only drawing certain objects such as the butterfly i chose. 
In this project we also used diffrent media such as acrilic paint, coloured pencils, shading pencils such as 2B and 4B and inks. In the project we used paint but in large amounts so that we could clearly see the marks made by the paint brush and we used coloured pencils to cross hatch and blend colours together and we used shading pencils to blend shades in too. 
With this project we also had 4 studies. The first study was coloured pencil on parcel and newspaper, this study was good as it taught me that certain surfaces are had to use coloured pencils on such as parcel paper as the colour did not show up as well as it did on newspaper. In the second study we used coloured pencil on inks, this was effective as it taught me that i could mix 2 types off media together to make my work look good and to make my work one of a kind. With our third study we used white emulsion with coloured pencil this was good too as we could make different marks and make our drawings have different textures. 
The thing that is effective about my sgraffito drawing is that the coloured background that is coverd by the black paint when etched gives your drawing a colourful and vibrant look. 
In my opinion my home work studies have been up to date and i spend enough time on them as i make sure my work is to the best standered it can be.
In my opinion i have improved my observational drawing skills with drawing from images we used to make our mood boards from as well as the sets we drew which were set up for us.
In my opinion i managed my time during the project very well as i did not stray from concentrating on my work and handed my work in on time through out the project. In my opinion i have produced the best drawing and mark-making outcomes possible with in the time frame we were given.from my work i am happy with the mark making techniques i have learned and do not know off any other techniques that i would wish to explore. 
My over all opinion on the project is that the project was not something i would have chosen to do but the more i explored the project and tried new techniques the more i got into the project and the more i enjoyed it. 

Wednesday, 22 October 2014

1st week in fine art

For the first lesson of fine art we made a colour wheel to show colour combinations and how mixing can change a colours shade by adding black or tone by adding white

Finished product in ceramics

After 4 weeks my ceramics project is complete and in making my plac i have used all techniques that i have learnt including soldering and embossing. For my plac i have soldered the metal objects which i have cut out and etched onto copper and brass onto a stem of copper so they are raised from the plac making it look a little 3D as well as bleaching all the metal pieces to make them brighter and look more appealing to others.


Soldering in ceramics

In the second lesson of ceramics we learnt how to solder objects together by using silver to join the objects together by heating the 2 sheets of metal and then concentrating the heat on the silver which would eventually heat up and melt into the join which would then make the 2 sheets of metal joined together.


Monday, 20 October 2014

Examples in ceramics

These are images of the techniques we used in ceramics, the techniques we used were cutting out where we had to cut out of the metal; another was embossing where we used different materials to make prints on the metal by pressing it against the metal